Batch resize
FreeResize one image or the whole queue to an exact size. Set a max width once and every image you add inherits it.
Shortcut S
How it works, every feature with a clip or screenshot, and the tips that make it faster.
There is no setup and nothing to sign in to. The whole job is three moves, and the same editor handles one image or a hundred.
Files, a whole folder, or paste from the clipboard. They land in the queue and the first one opens in Preview.
Next file works through the batch one at a time. Process all applies your settings to everything and hands you the finished files — a zip on the web, your Media Library in WordPress.
Filter by tier, or search for the thing you’re trying to do — matches light up, everything else steps back.
Resize one image or the whole queue to an exact size. Set a max width once and every image you add inherits it.
Drag a frame, lock it to a ratio, or type exact output dimensions. Batch crop gives every image the largest centred window at the ratio you pick.
Crop's Fill/Fit switch, for when a ratio shouldn’t cost you pixels. Fit pads out to the ratio instead of cutting in, and fills the gap with a colour, a blurred version of the photo, or leaves it transparent. One image, or the whole batch in Grid.
Three ways: rename one image, number a whole sequence with or without a prefix, or type a name for every image in one pass. Sequences zero-pad so 12 files sort correctly.
Rotate left or right, flip horizontal or vertical — beside the zoom buttons in Preview, and on each tile when you hover it in Grid. A crop you already set turns with the picture.
Two views of one queue. Preview works through images one at a time with the full before/after; Grid shows everything you queued and applies the same settings to all of it.
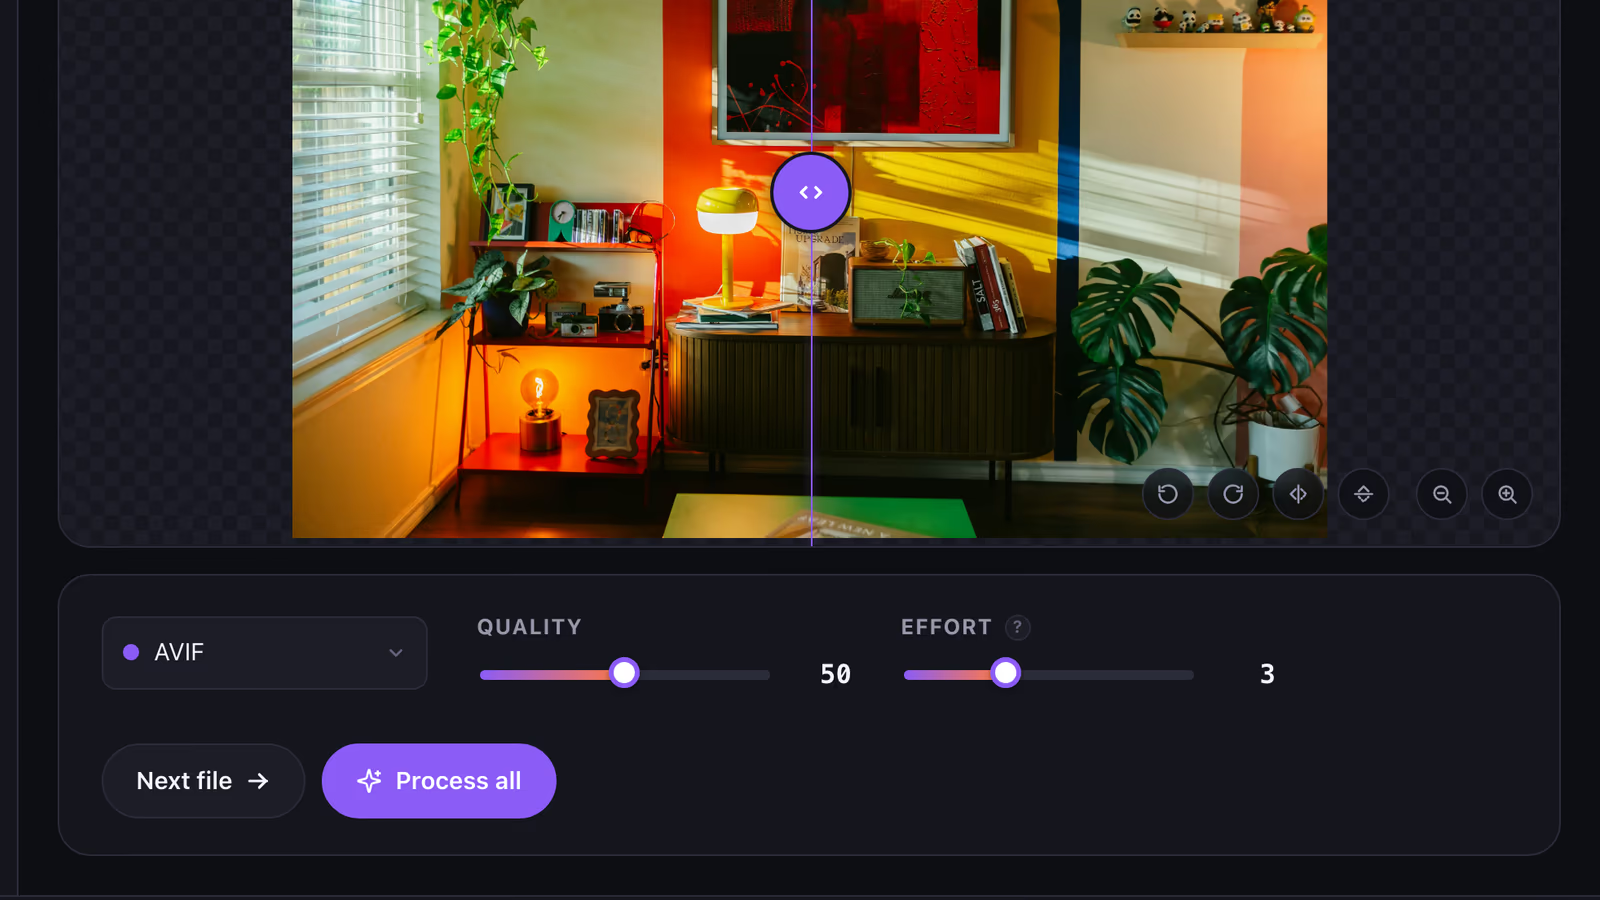
AVIF, WebP, JPEG or PNG, with the real encoders — libavif, libwebp, MozJPEG, Oxipng — compiled to run in your browser. A live before/after loupe and the output size as you adjust.
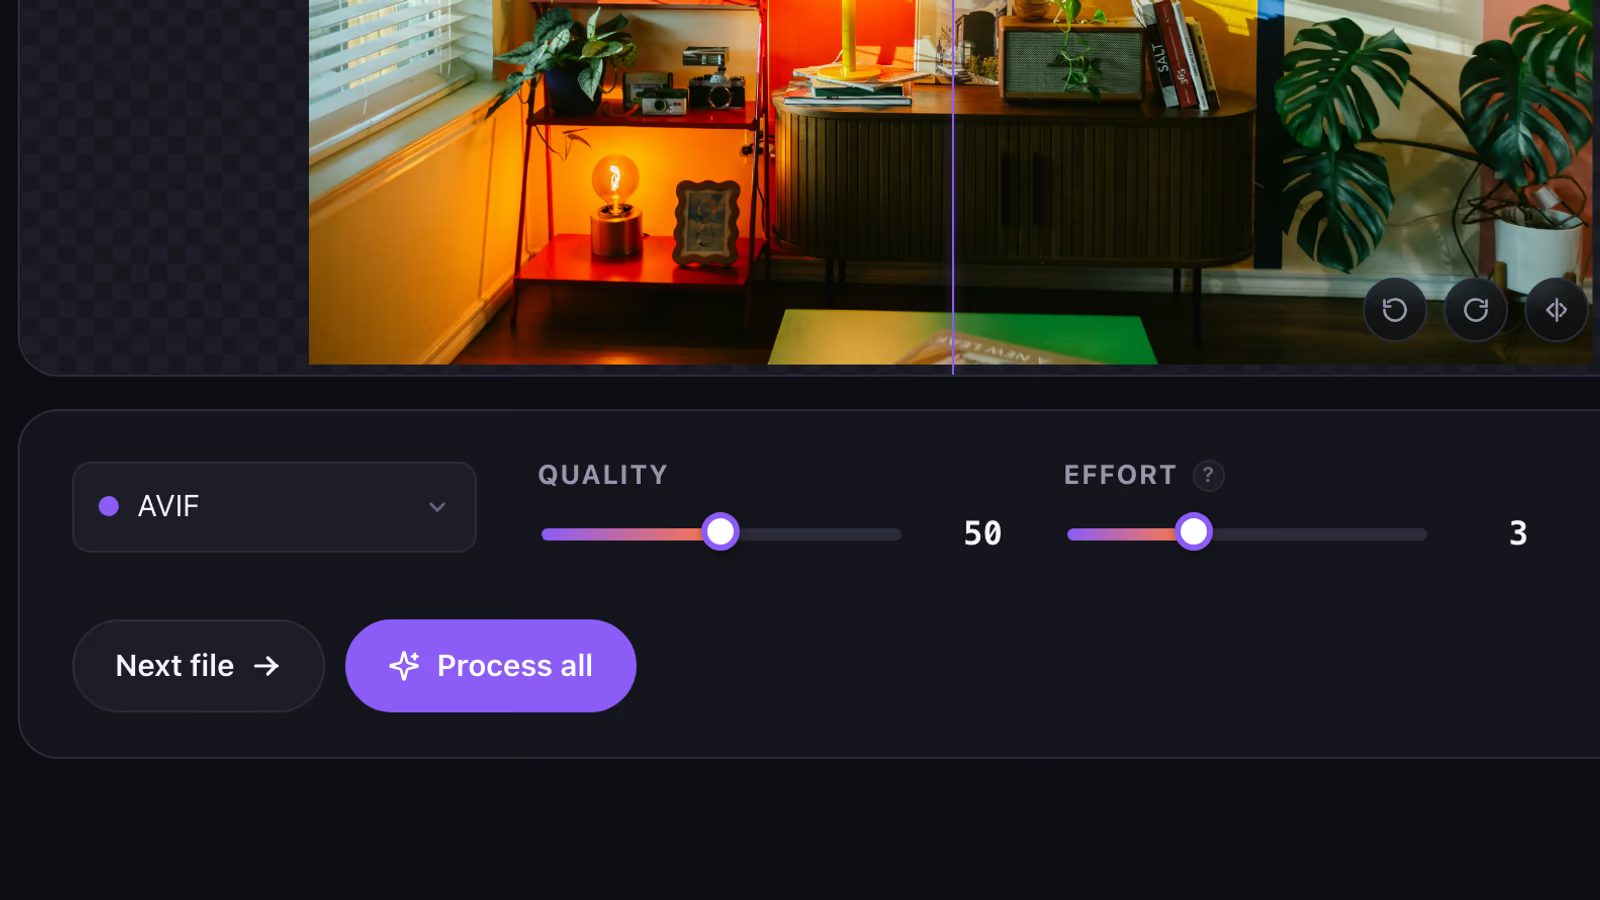
Next file finishes the image you’re on and moves to the next. Process all applies your settings to the whole queue and hands you a zip — or, in WordPress, sends the finished files to your Media Library.
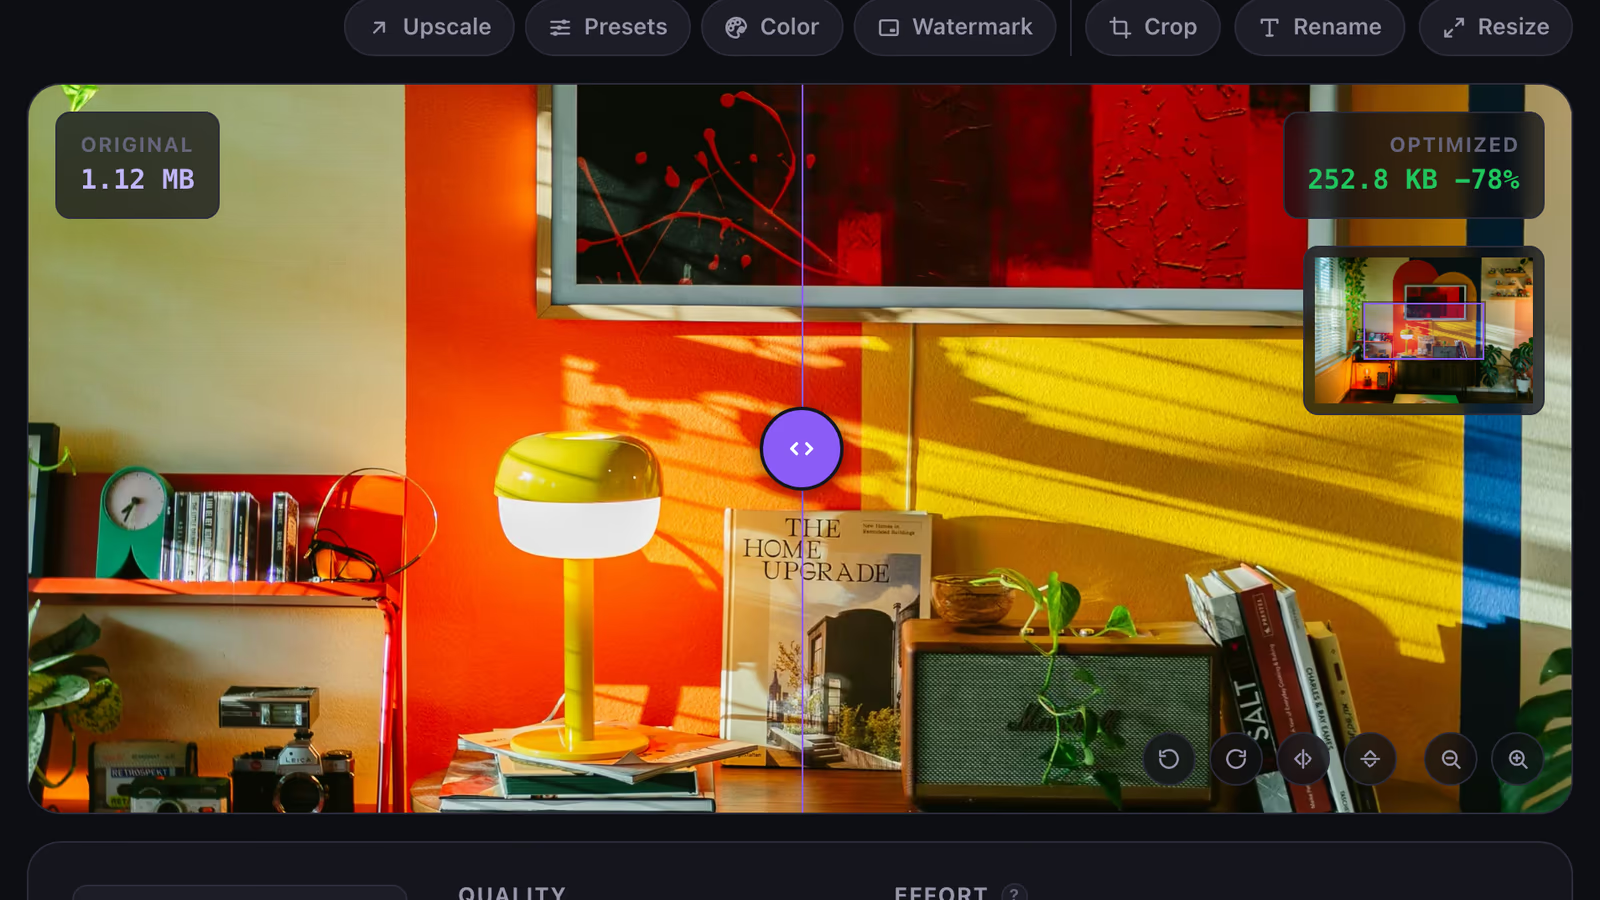
Ctrl/⌘-scroll or pinch to zoom the before/after from 0.5x to 3x, anchored on the cursor. Plain scroll pans, and a navigator thumbnail shows where you are in the image.
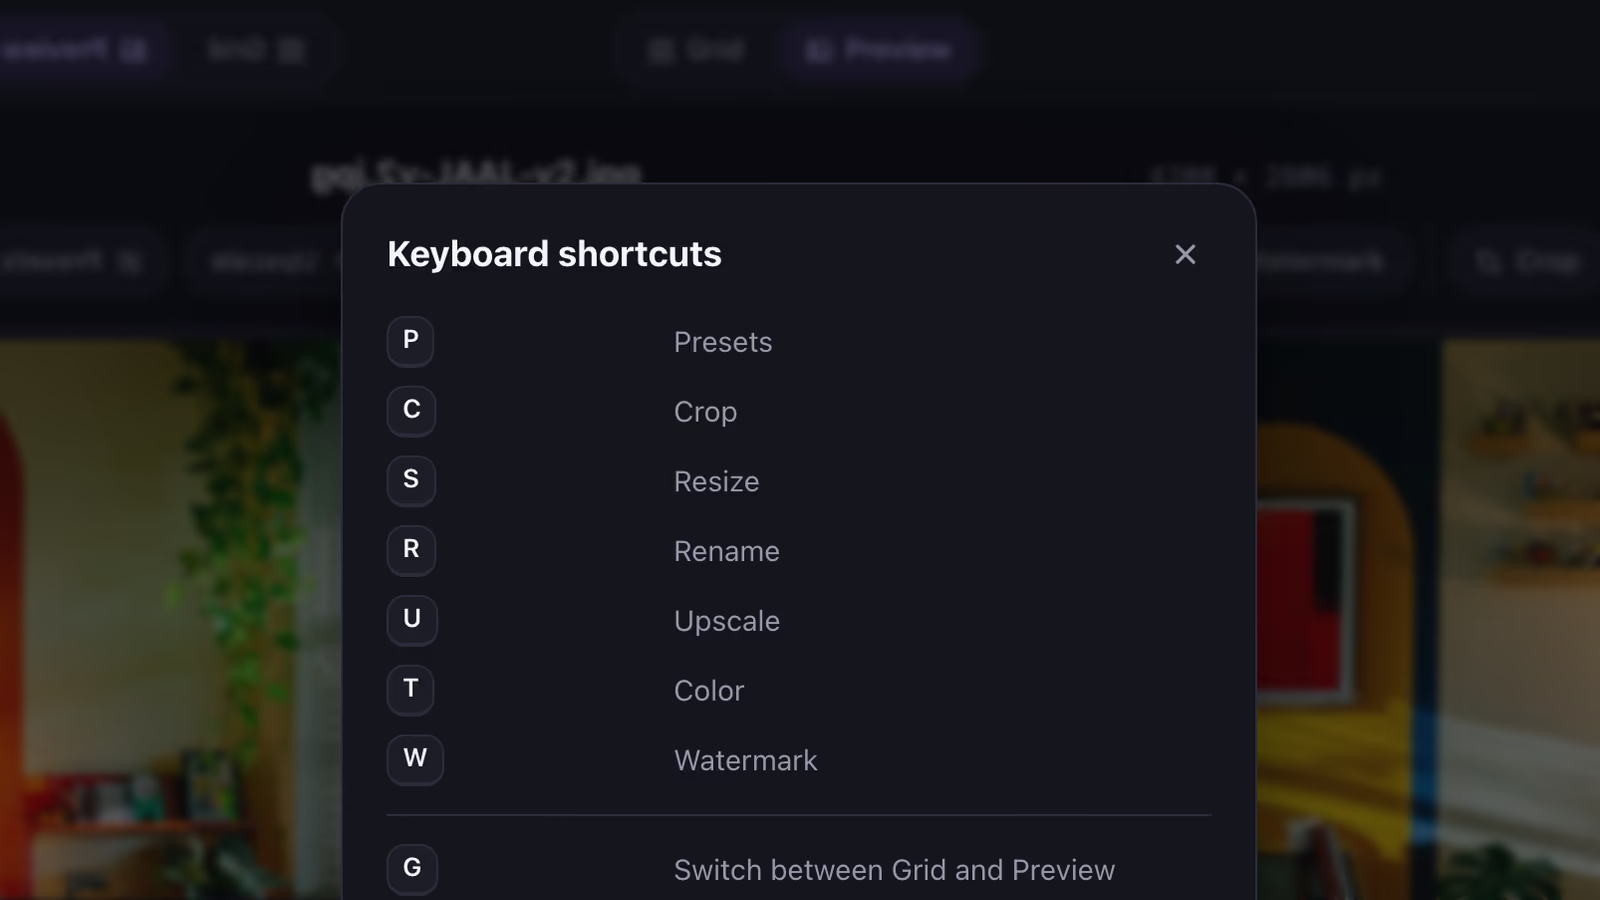
A single key for every tool, Photoshop-style — P, C, S, R, U, T, W — plus G for Grid, arrows to move between images, Enter to finish one. Hover any tool to see its key; press ? for the full list.
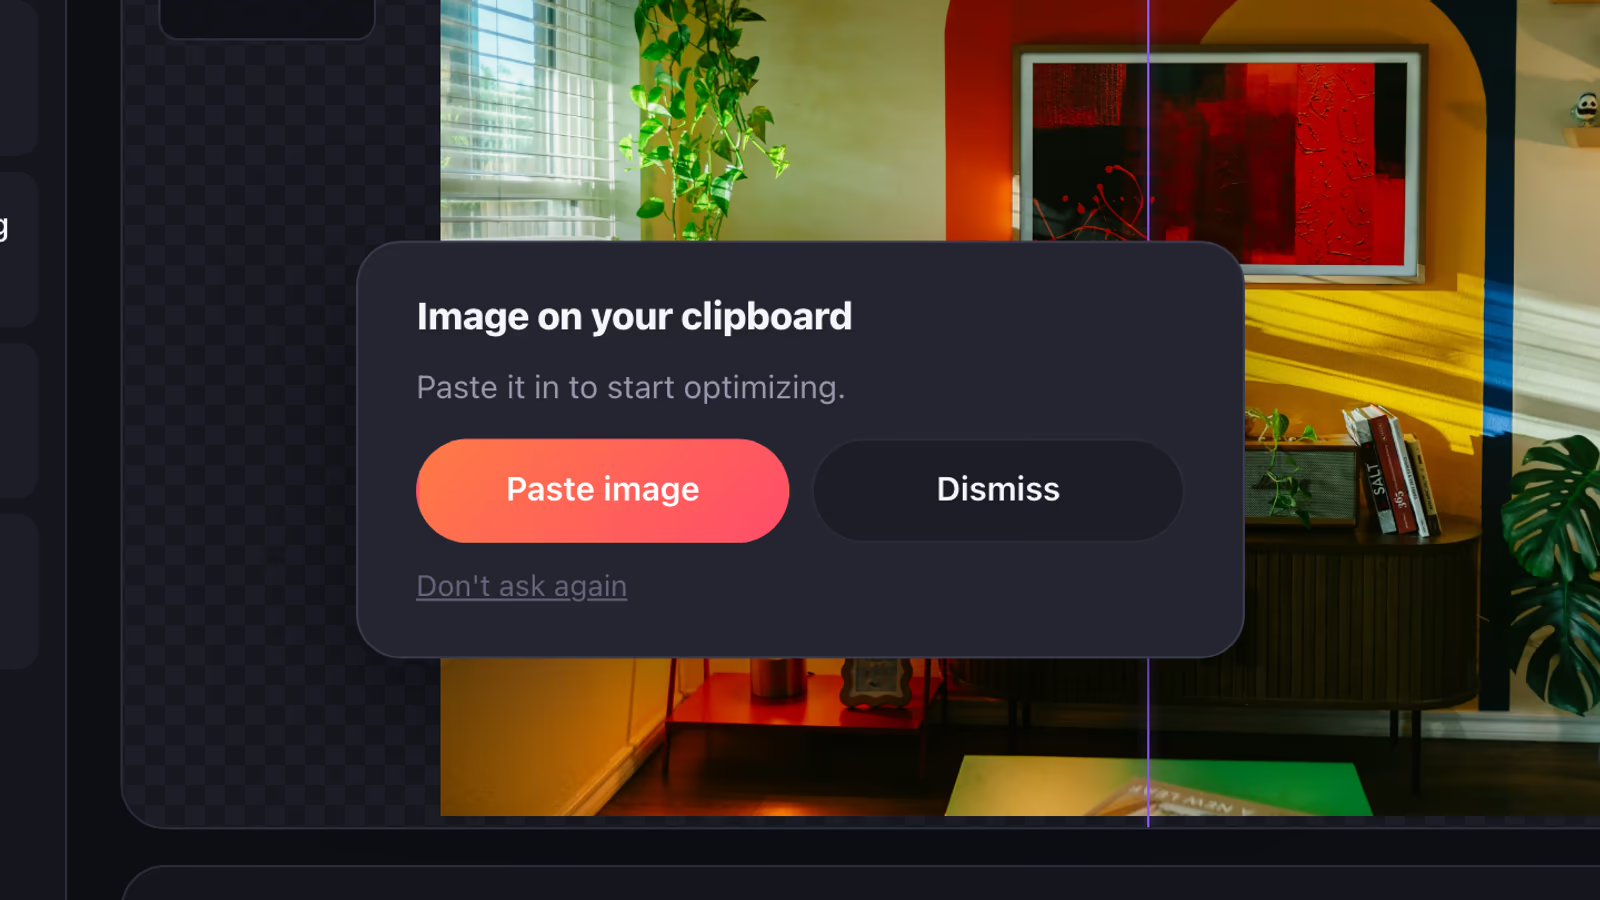
Ctrl/⌘+V drops a screenshot straight into the queue, no saving to disk first. Come back to the tab with an image on your clipboard and Squishify offers to paste it.
One-click recipes for the jobs you do most — hero banner, product grid, Instagram post, YouTube thumbnail, 4K wallpaper. Each sets size, format and quality; apply to one image or the queue.
A source that came in under the size you need, enlarged up to 2x before the resize and encode. Clean resampling, not an AI reconstruction — it gets the image to the size, it doesn’t invent detail.
Colorize, saturation and contrast, so a set of raw product shots comes out feeling like a set. Adjust one image, or apply the same look across the whole queue. The before/after loupe works while you adjust.
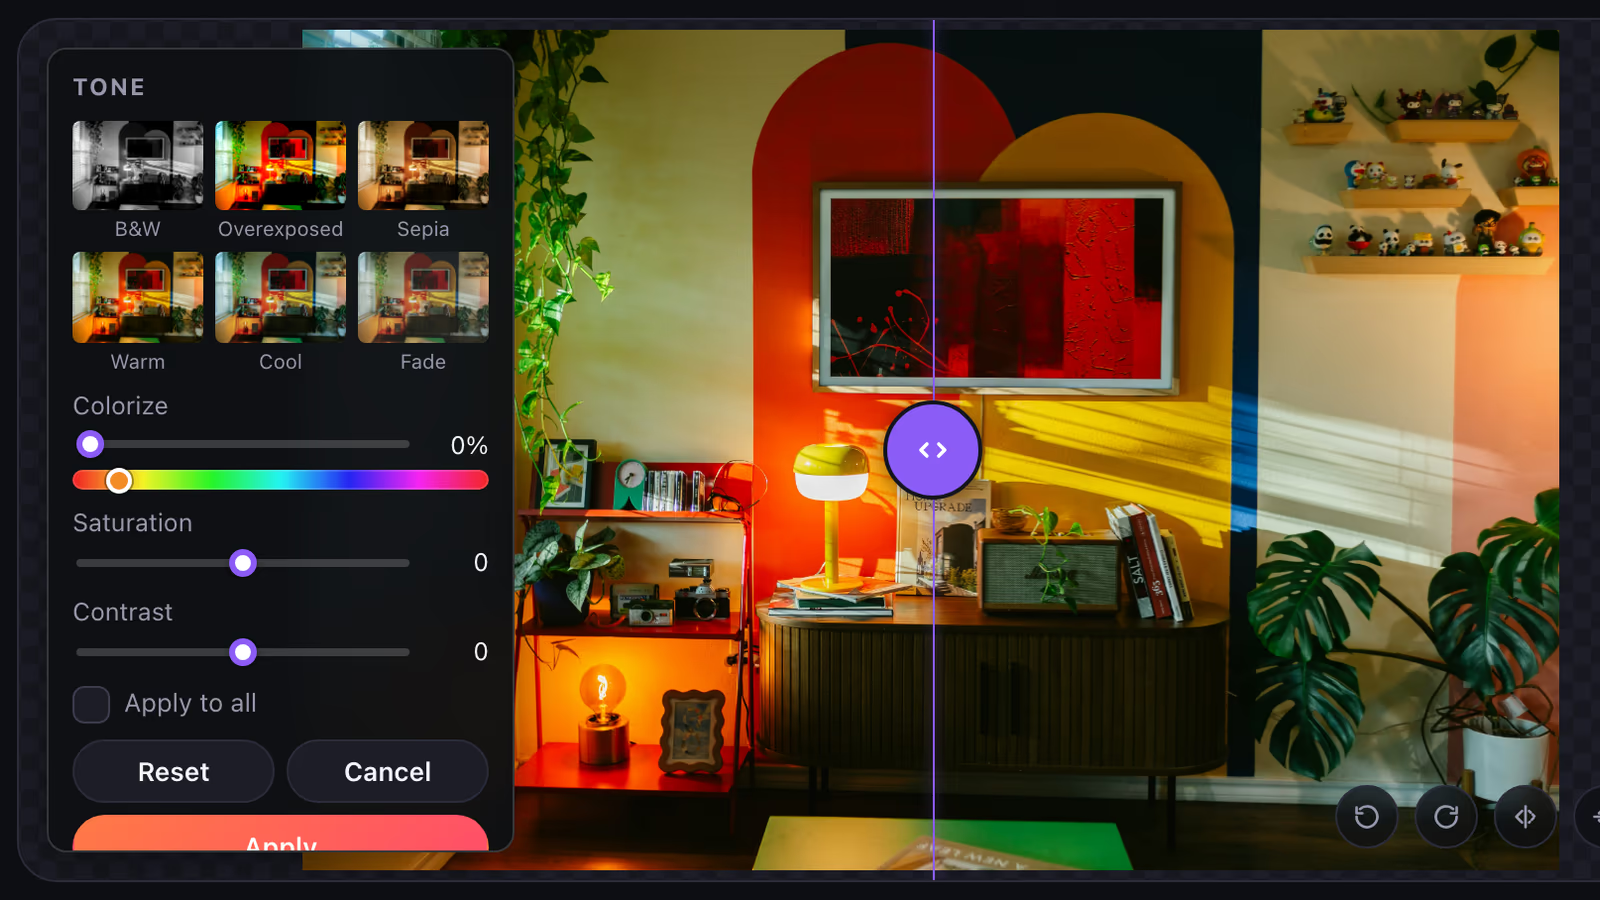
B&W, Overexposed, Sepia, Warm, Cool and Fade, each previewed on your own image before you pick it. They set the sliders, so you can keep adjusting from there.
Your own logo or a line of text on every image — a corner or the centre, a size, and how strong it should be. Sized as a share of each image, so one setting lands the same on a thumbnail and a hero. A logo can take a drop shadow.
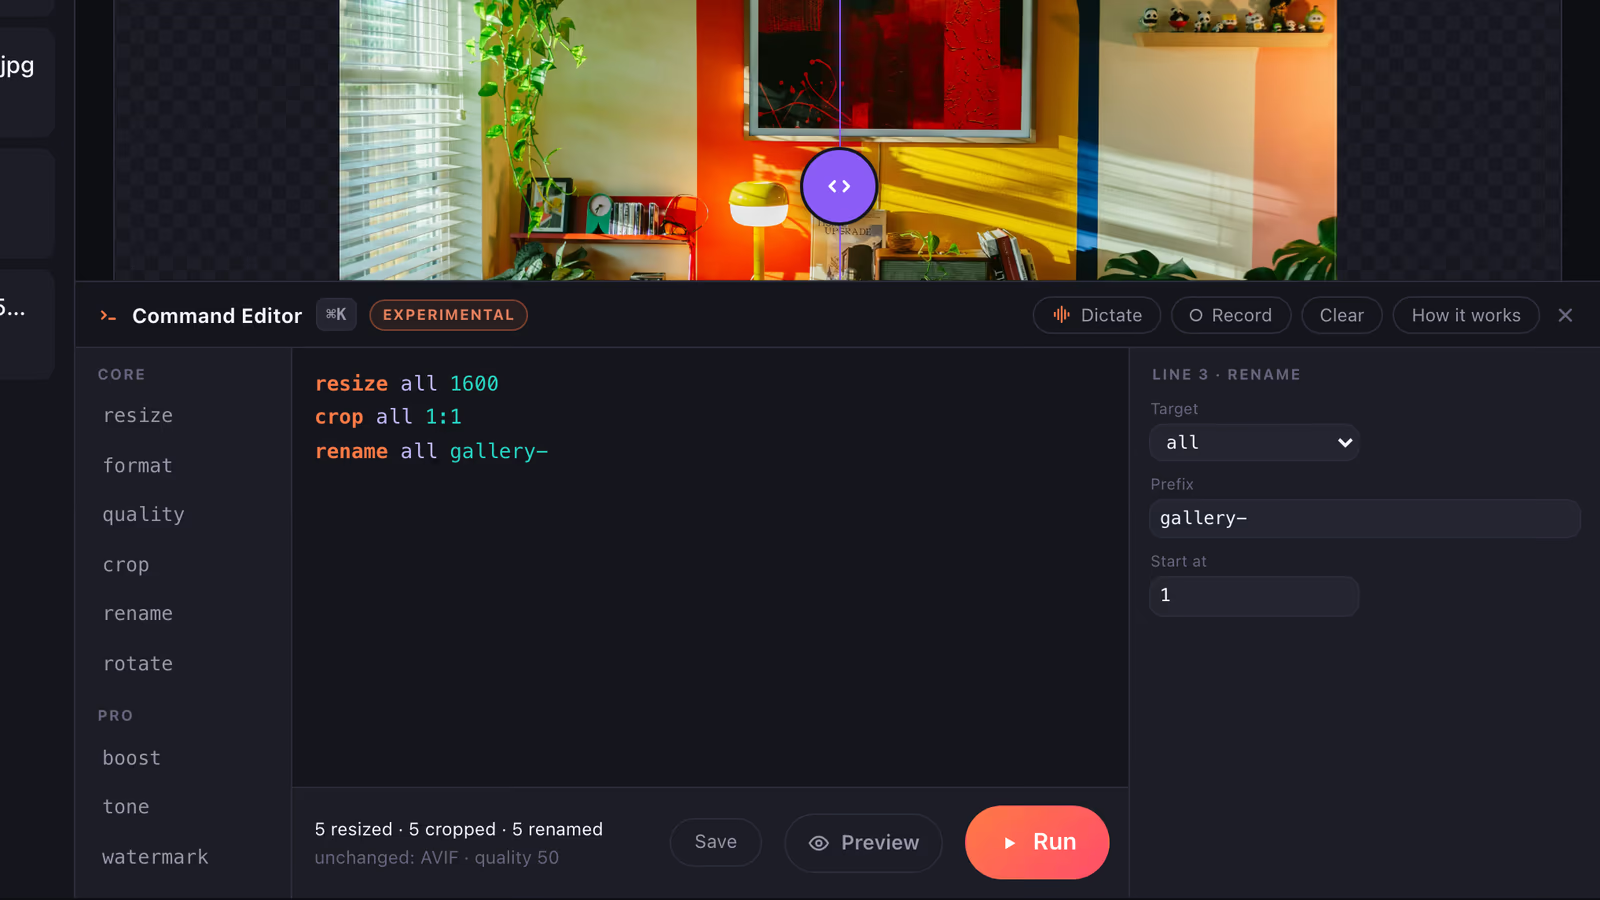
Experimental. Drive the whole queue by typing instead of clicking through it. Target images by position, filename, size or orientation — resize 1-2 800, crop landscape 16:9, rename *.png shot- — and see what each line will do before you run it. Preview applies the recipe so you can look at it; Run takes it straight to the download. Turn on Record and it writes the commands for the work you do by hand. The grammar may still change shape in a later release, so saved recipes may need rewriting.
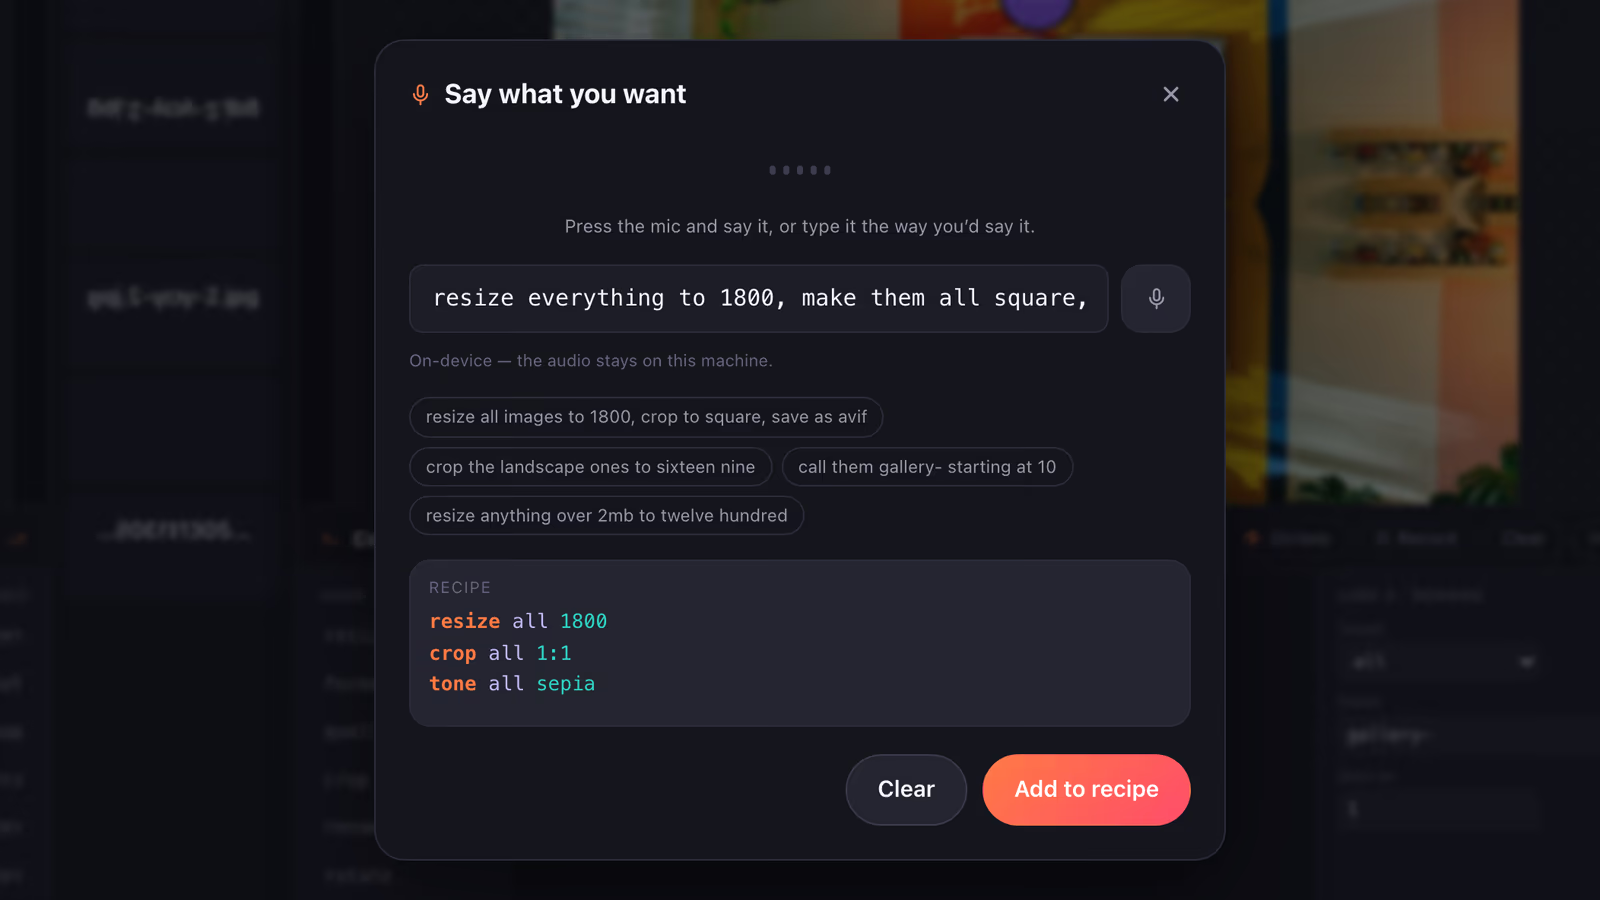
Experimental. Inside the Command Editor: say what you want in plain English and it writes the recipe. “Resize everything to 1800, make them all square, and color to sepia” becomes three commands, which land in the editor for you to read and change — nothing runs off a sentence. Type it instead if you prefer, or if your browser has no speech recognition.
Confirm a recipe once — format, quality, size, even a rename prefix — then every image you drop runs straight through to the download. No editor, no per-image stop.
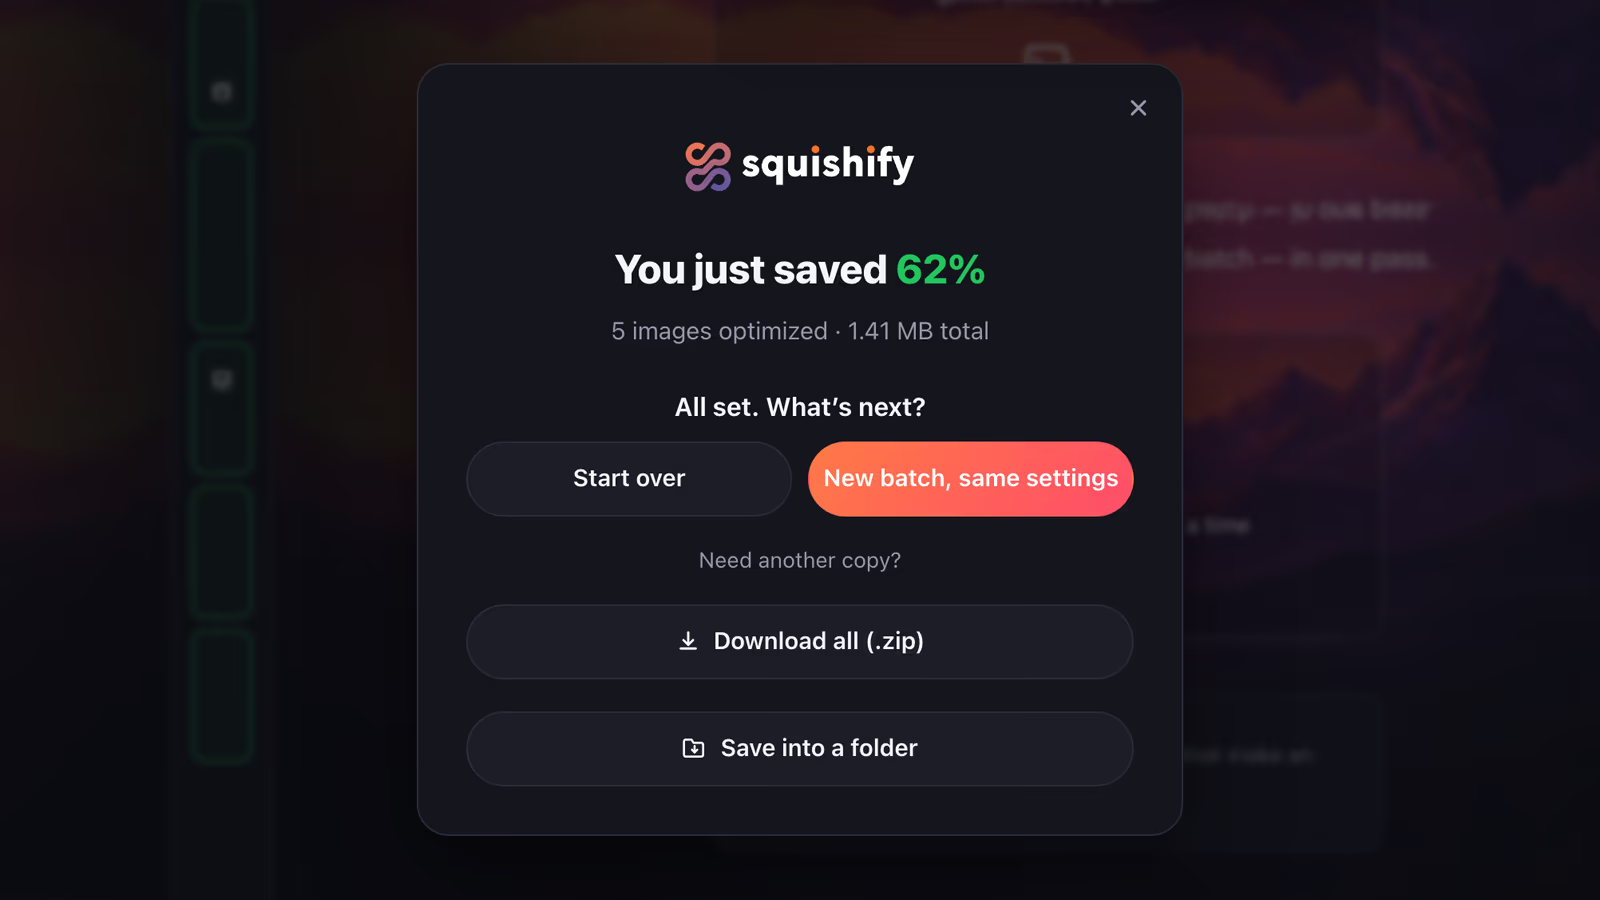
Pro takes 100 images per batch. Got more? Once a batch is saved, start the next one with the settings you applied to the whole batch, and a numbered rename picks up where it left off.
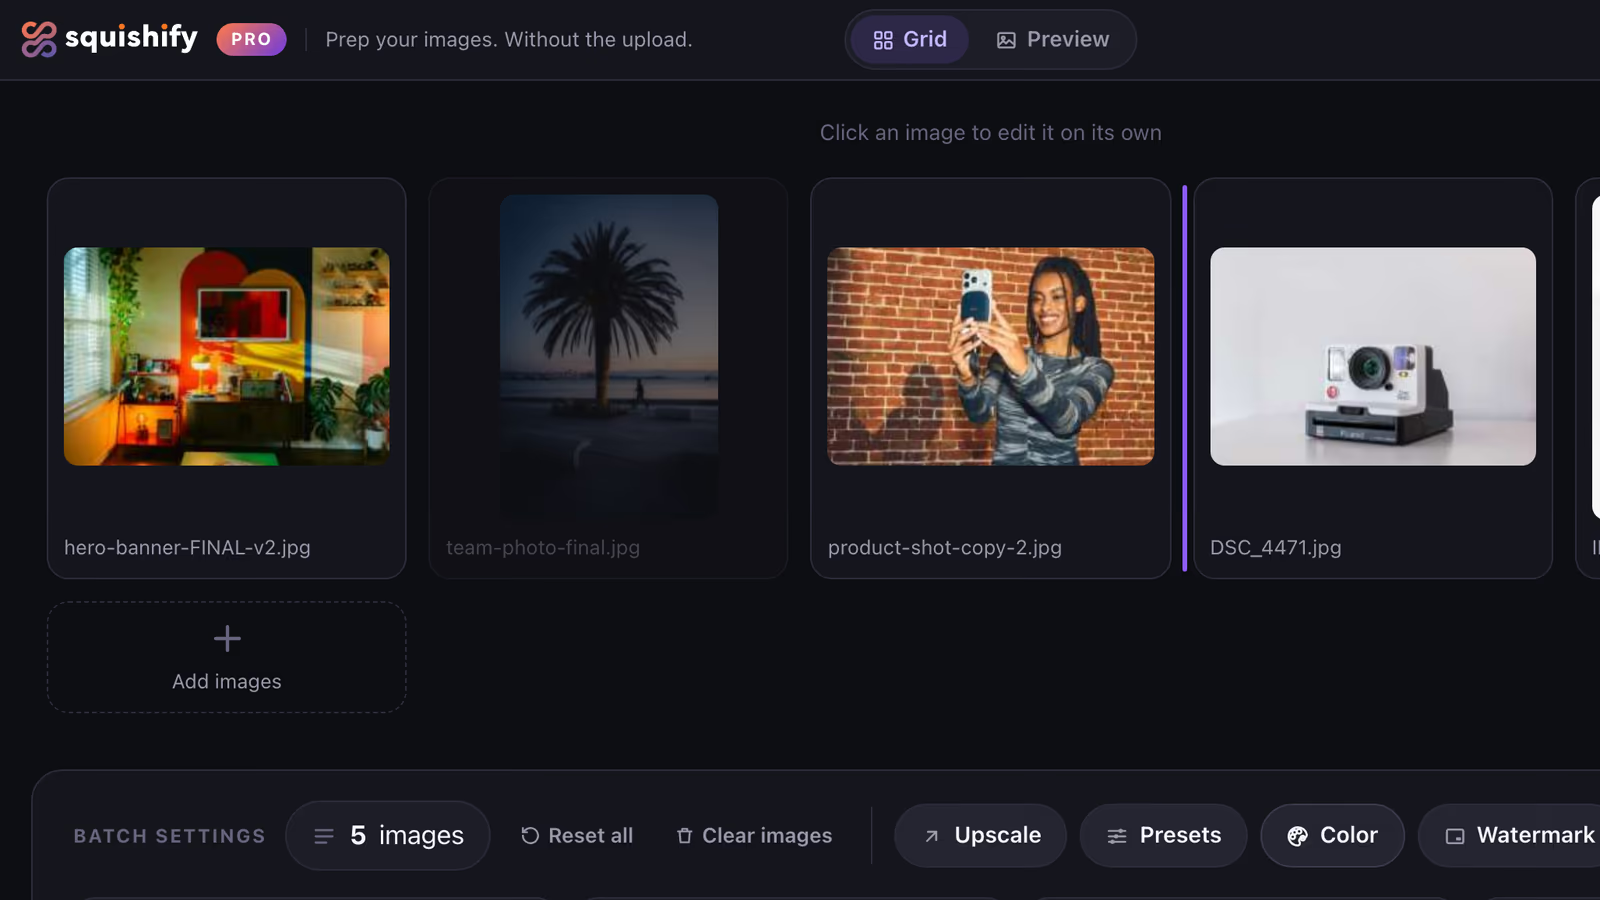
Drag images into the order you want, and the batch-rename numbering follows it — so a numbered sequence comes out in the order you chose, not the order the files arrived.
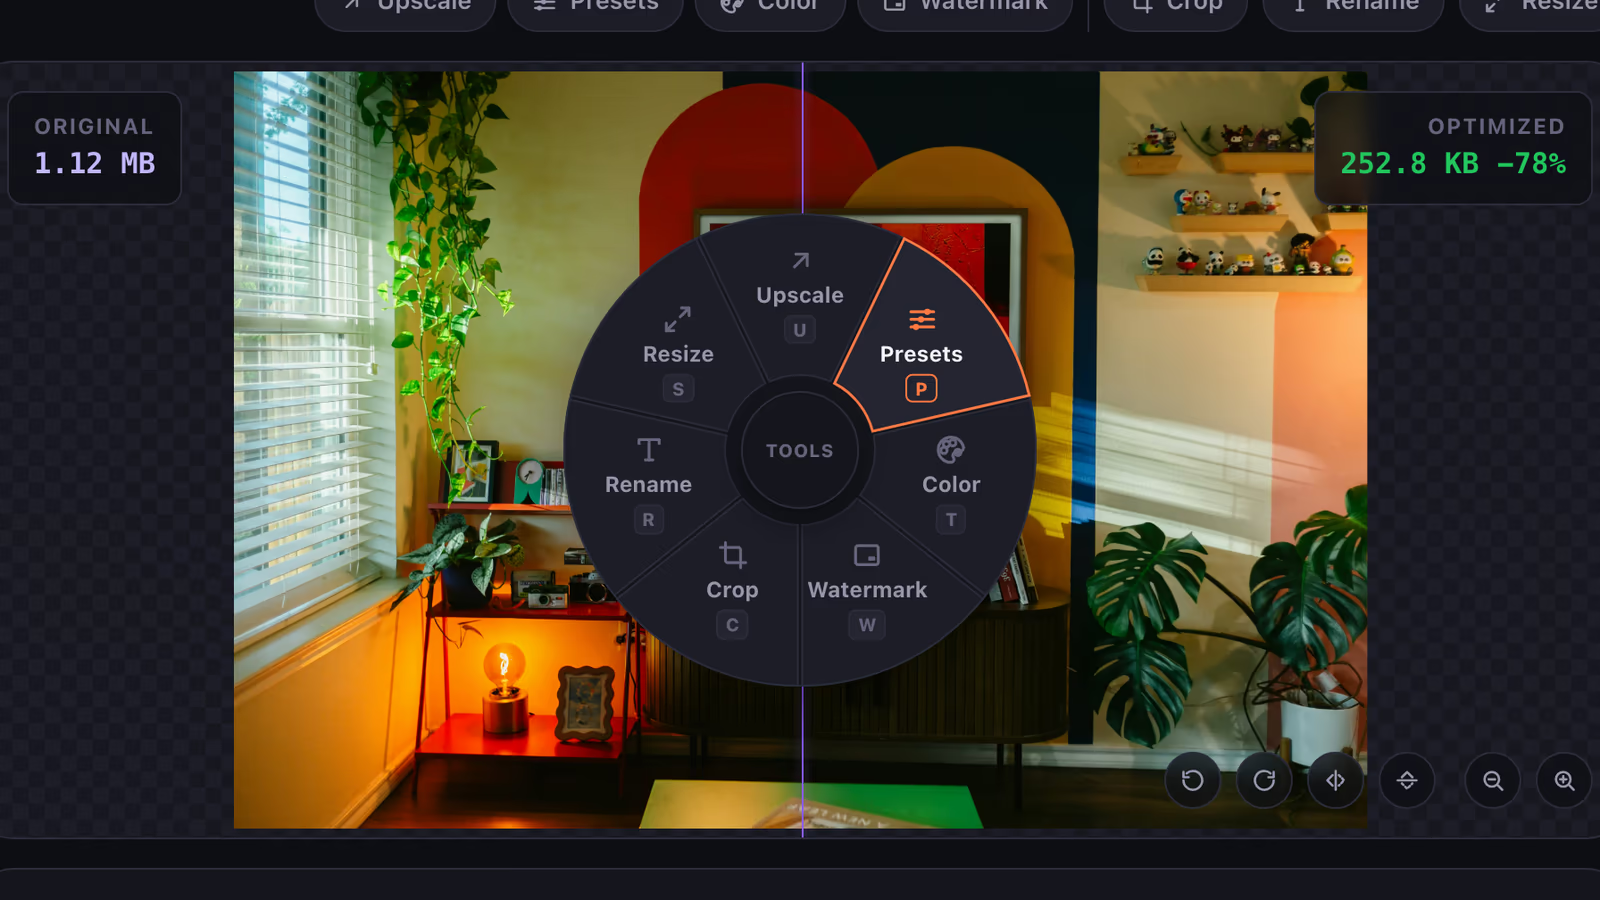
Right-click the image for the tools, a thumbnail for that image’s actions, the grid for the batch actions. Move onto a wedge and click. Shift + right-click keeps the browser’s own menu.
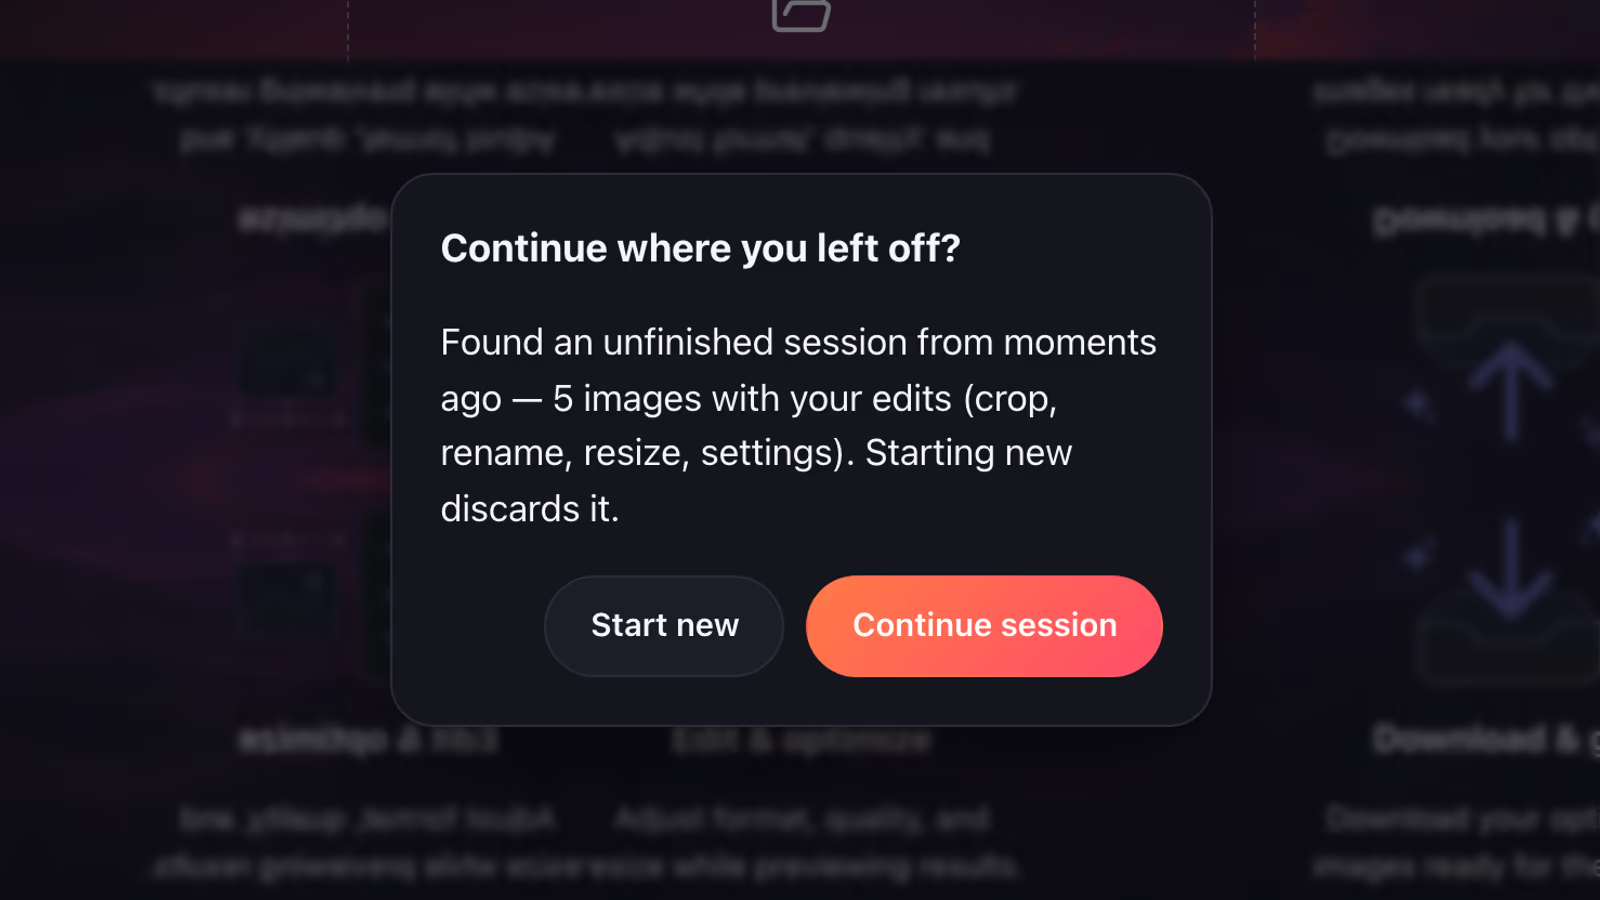
Closed the tab mid-batch? Your queue and every edit — crops, renames, settings — are waiting when you come back. One click and you’re where you left off.
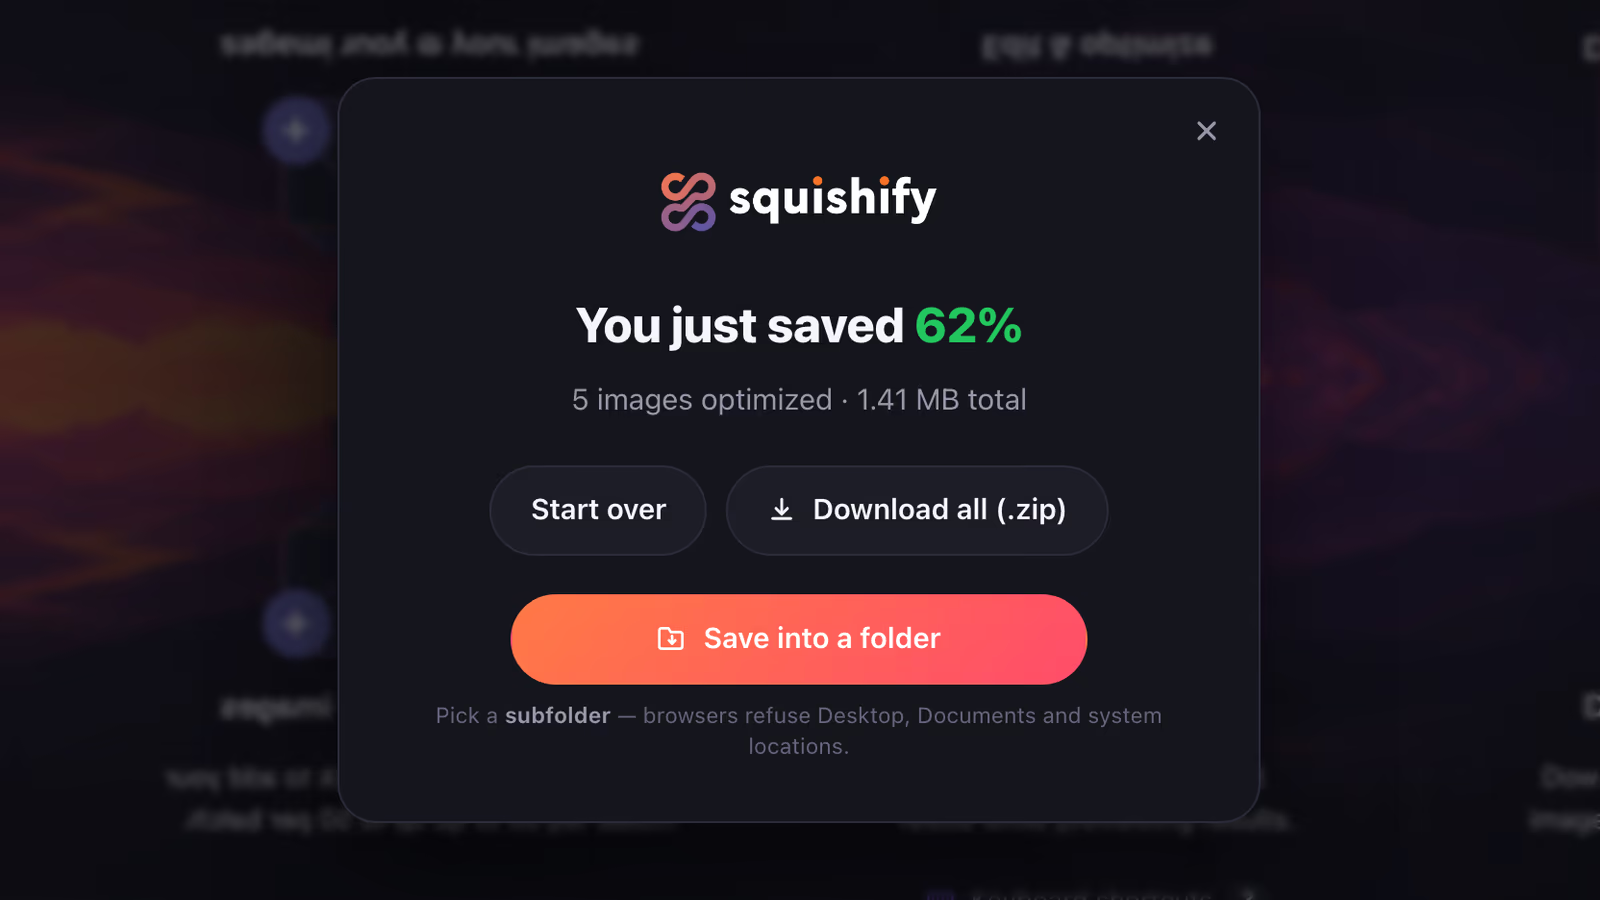
Pick a destination once and finished images land in it — no zip, no unzip. Squishify remembers the folder and never overwrites. Web app on Chrome and Edge; Safari and Firefox keep the zip.
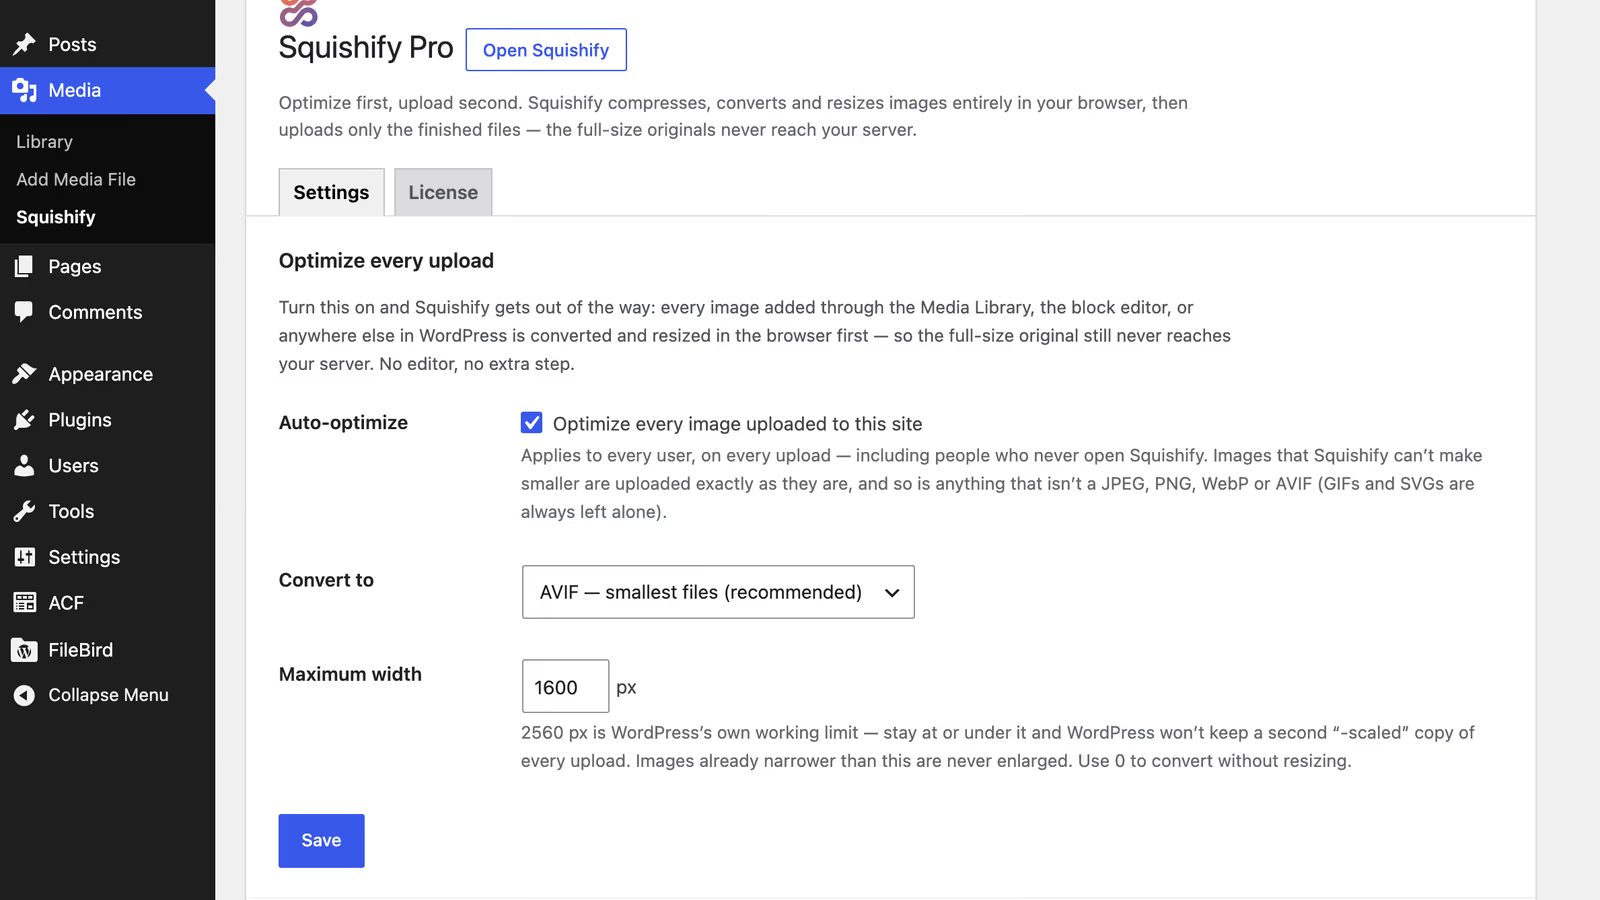
Pick a format and a max width once, and every image added to your site — Media Library, block editor, anywhere — is converted and resized in the browser before it is sent. The original never reaches your server.
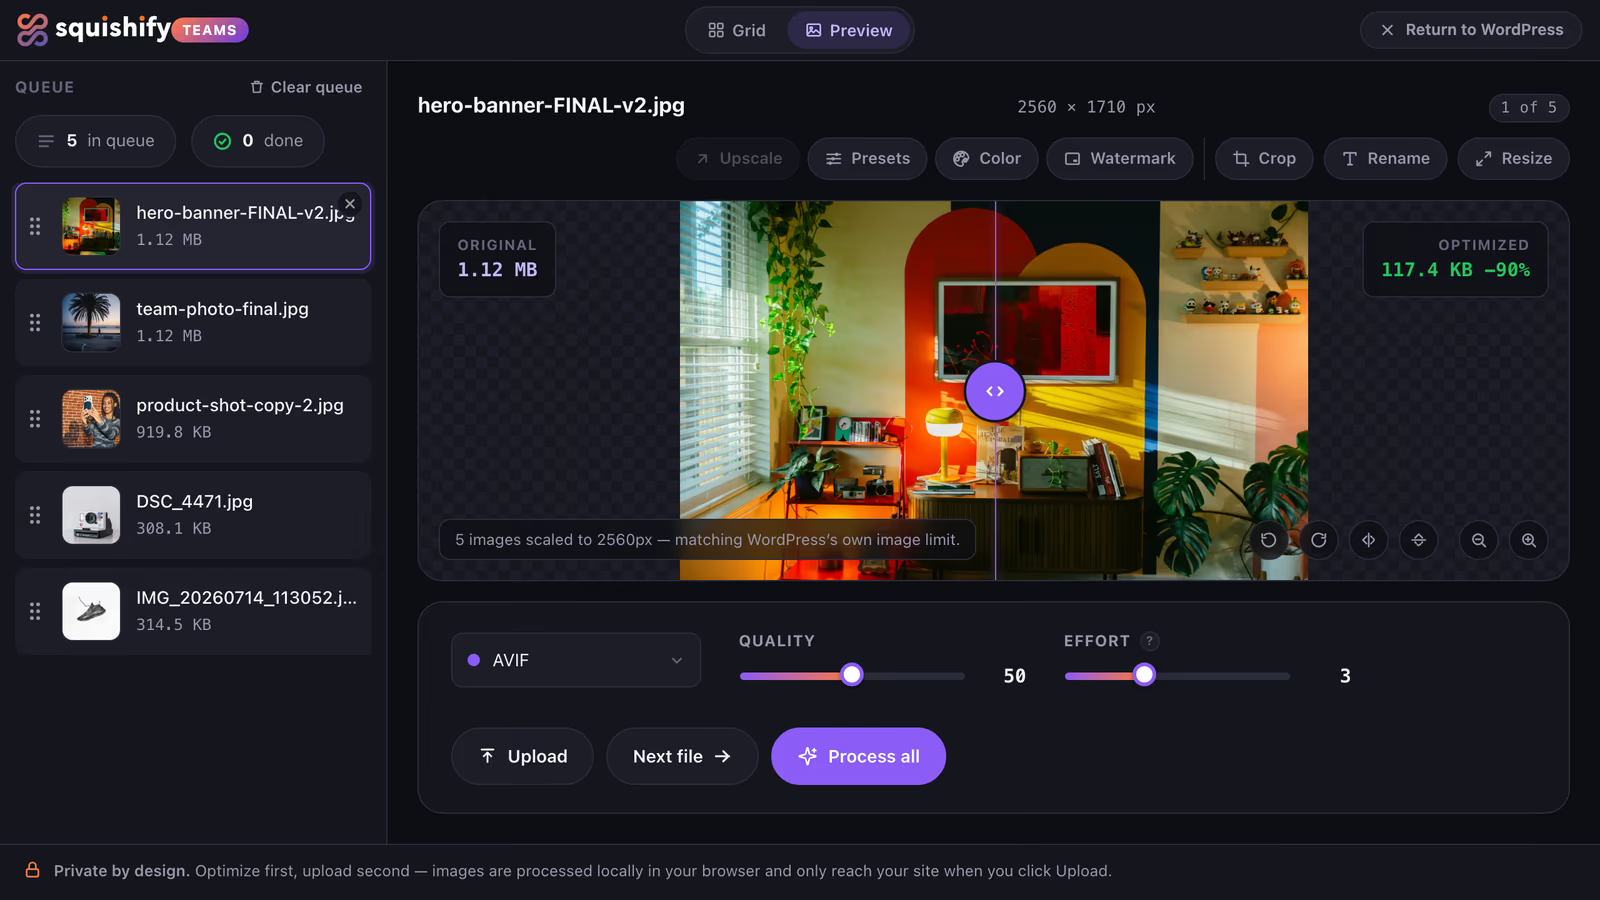
Open Squishify from the Media Library, work a batch by hand with the full editor, and only the finished, optimized files are uploaded. Nothing touches your site until you click Upload.
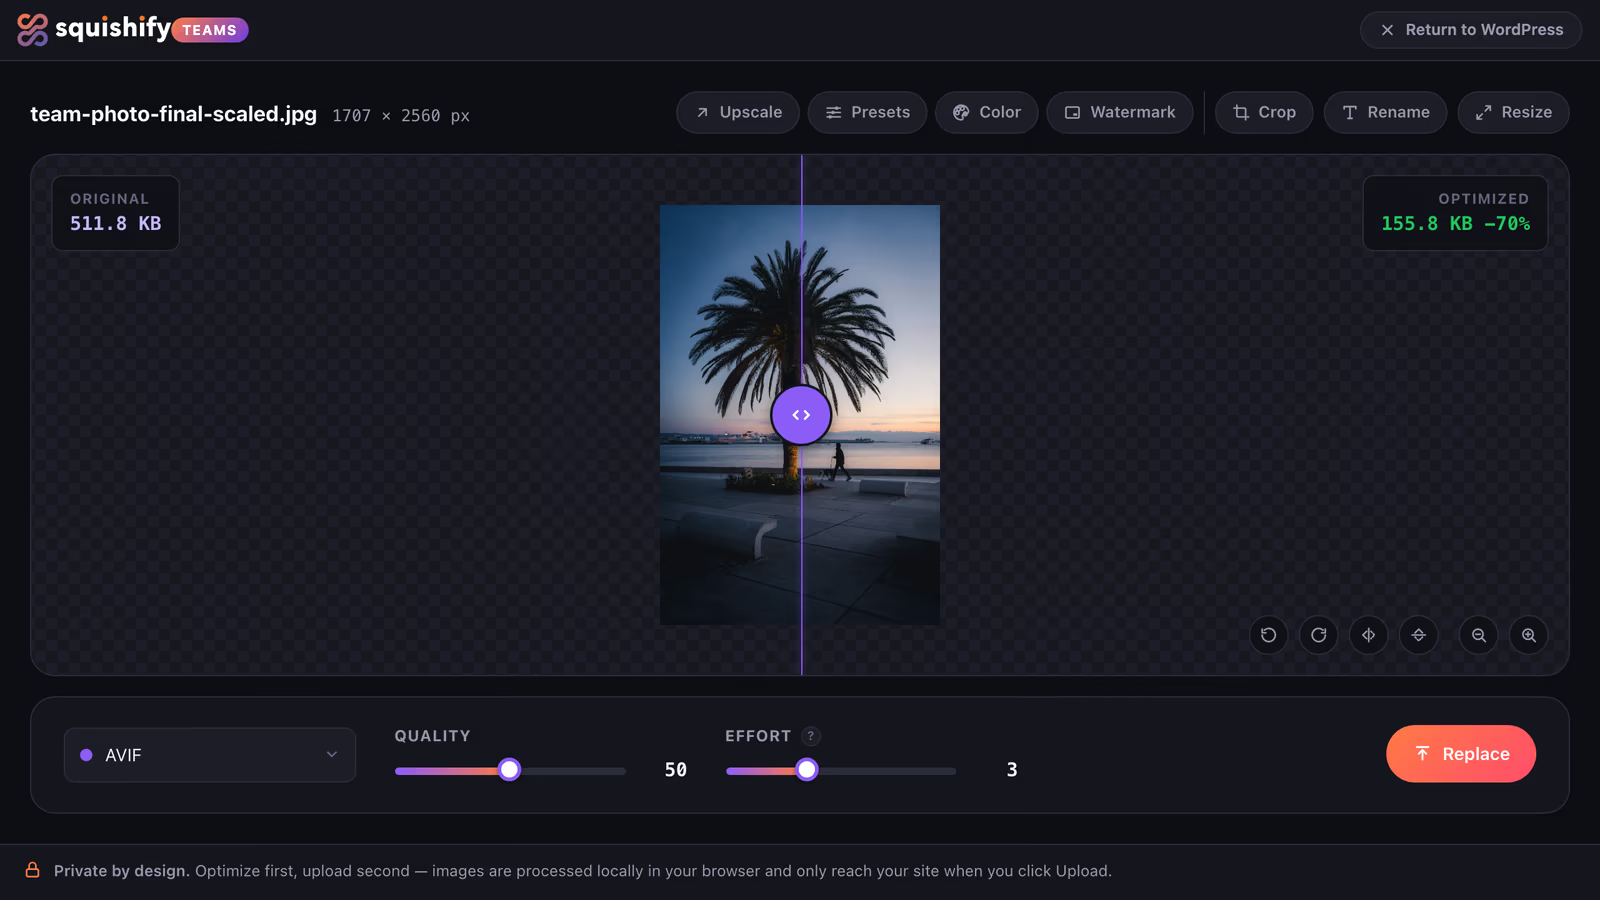
Swap an existing Media Library image for an optimized one. The attachment keeps its ID, so every post, block and field that used it updates automatically.
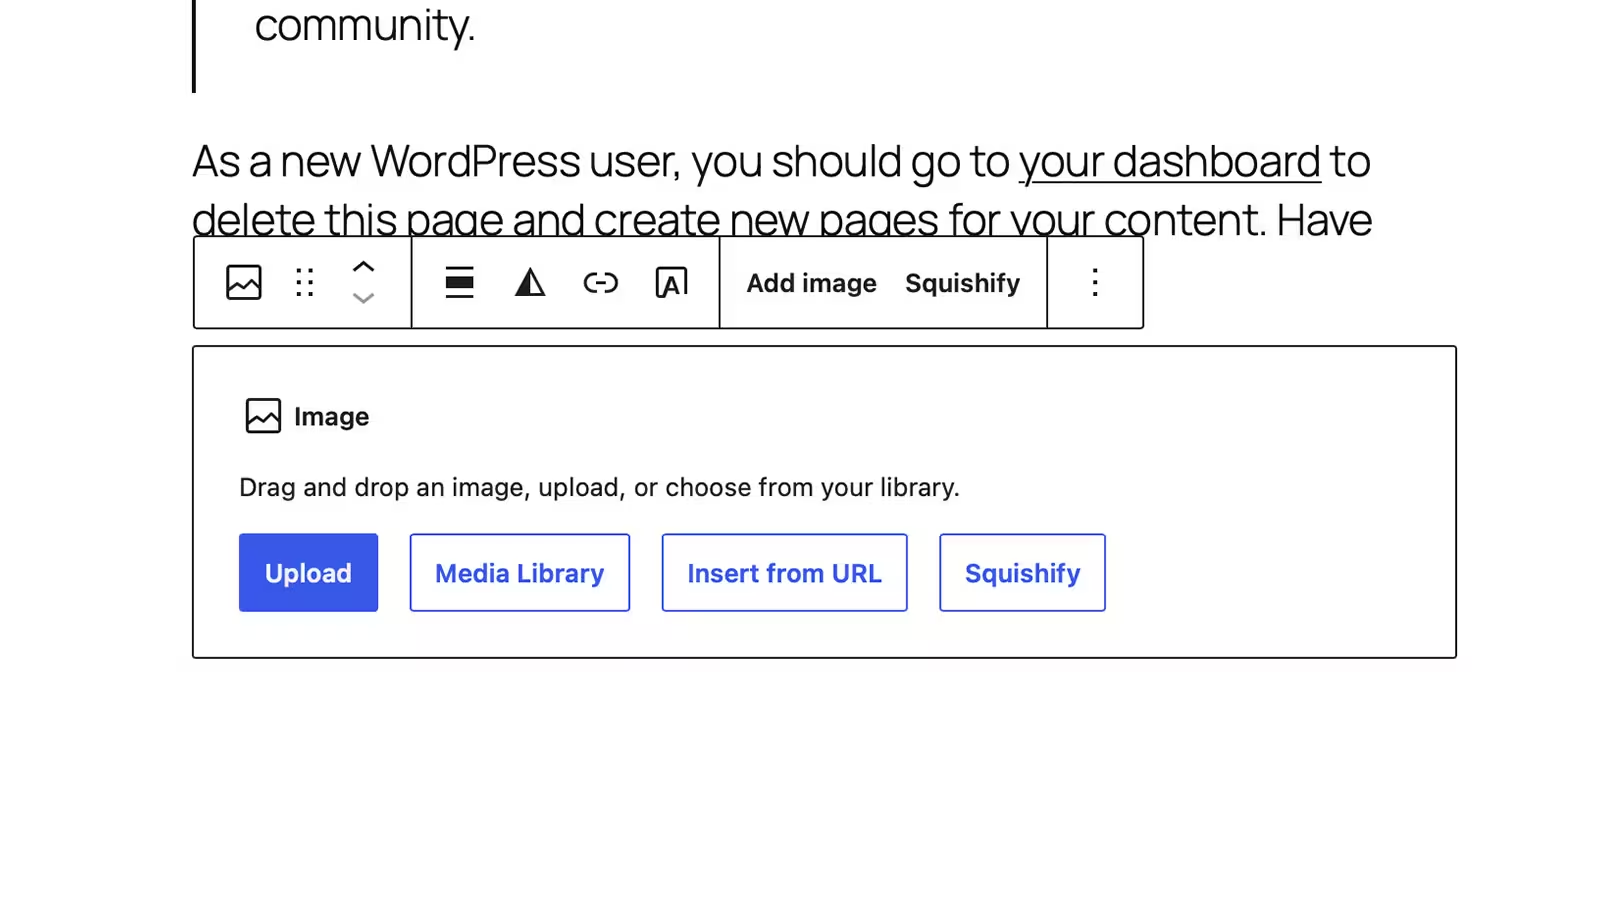
A Squishify button on the Gutenberg Image and Gallery blocks. Optimize straight from the block; a gallery does the whole set at once.
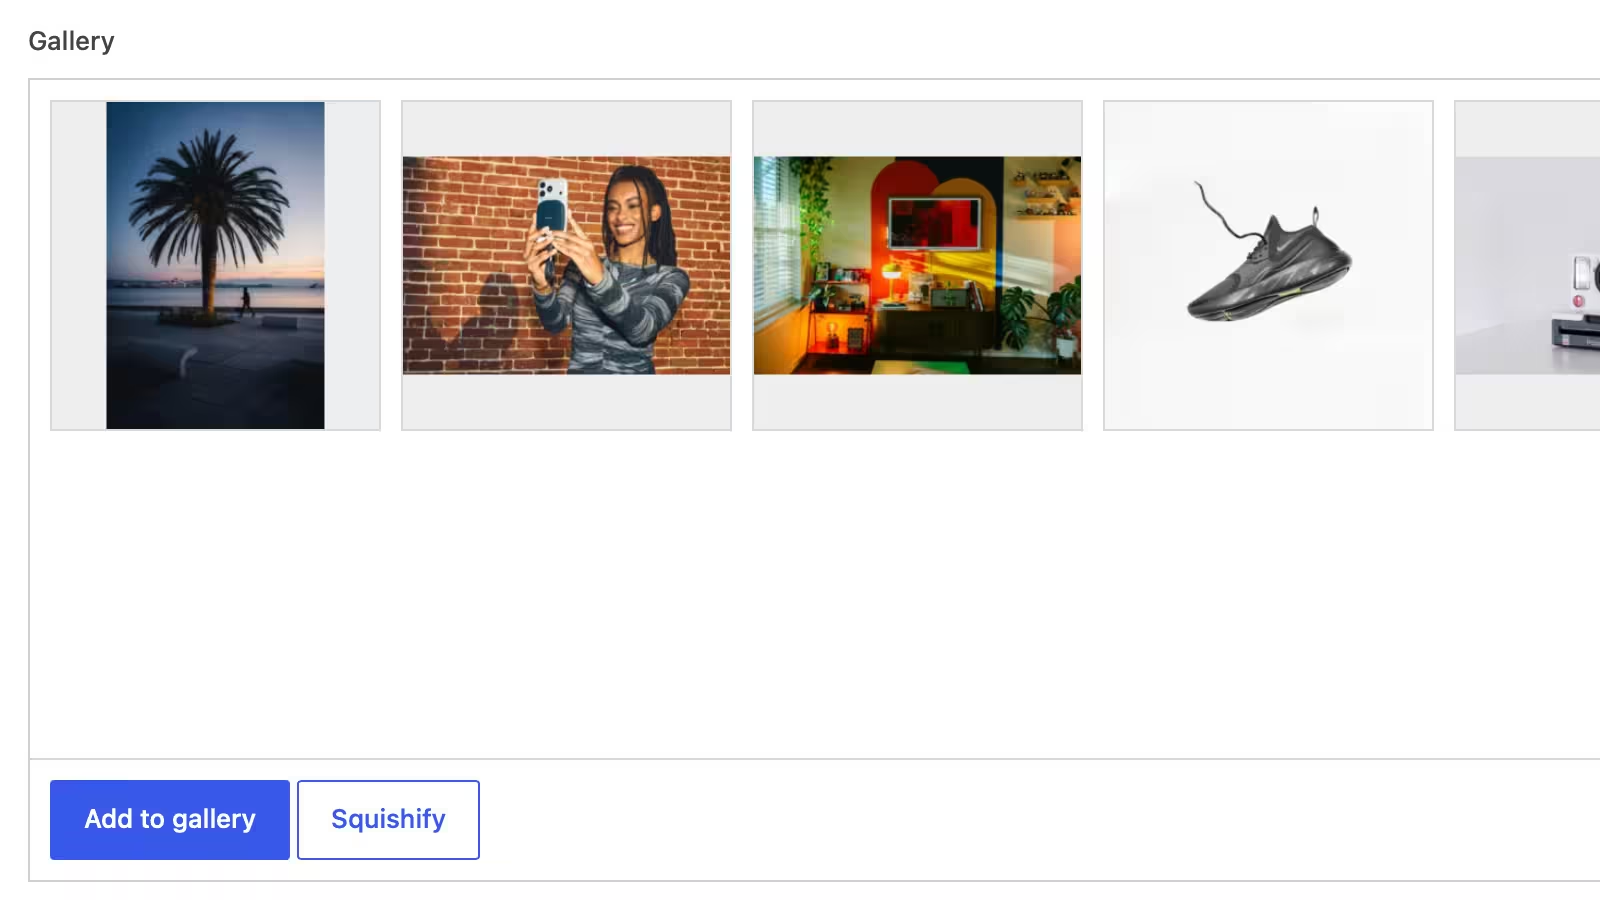
Image and Gallery fields get a Squishify button too, repeater rows included.
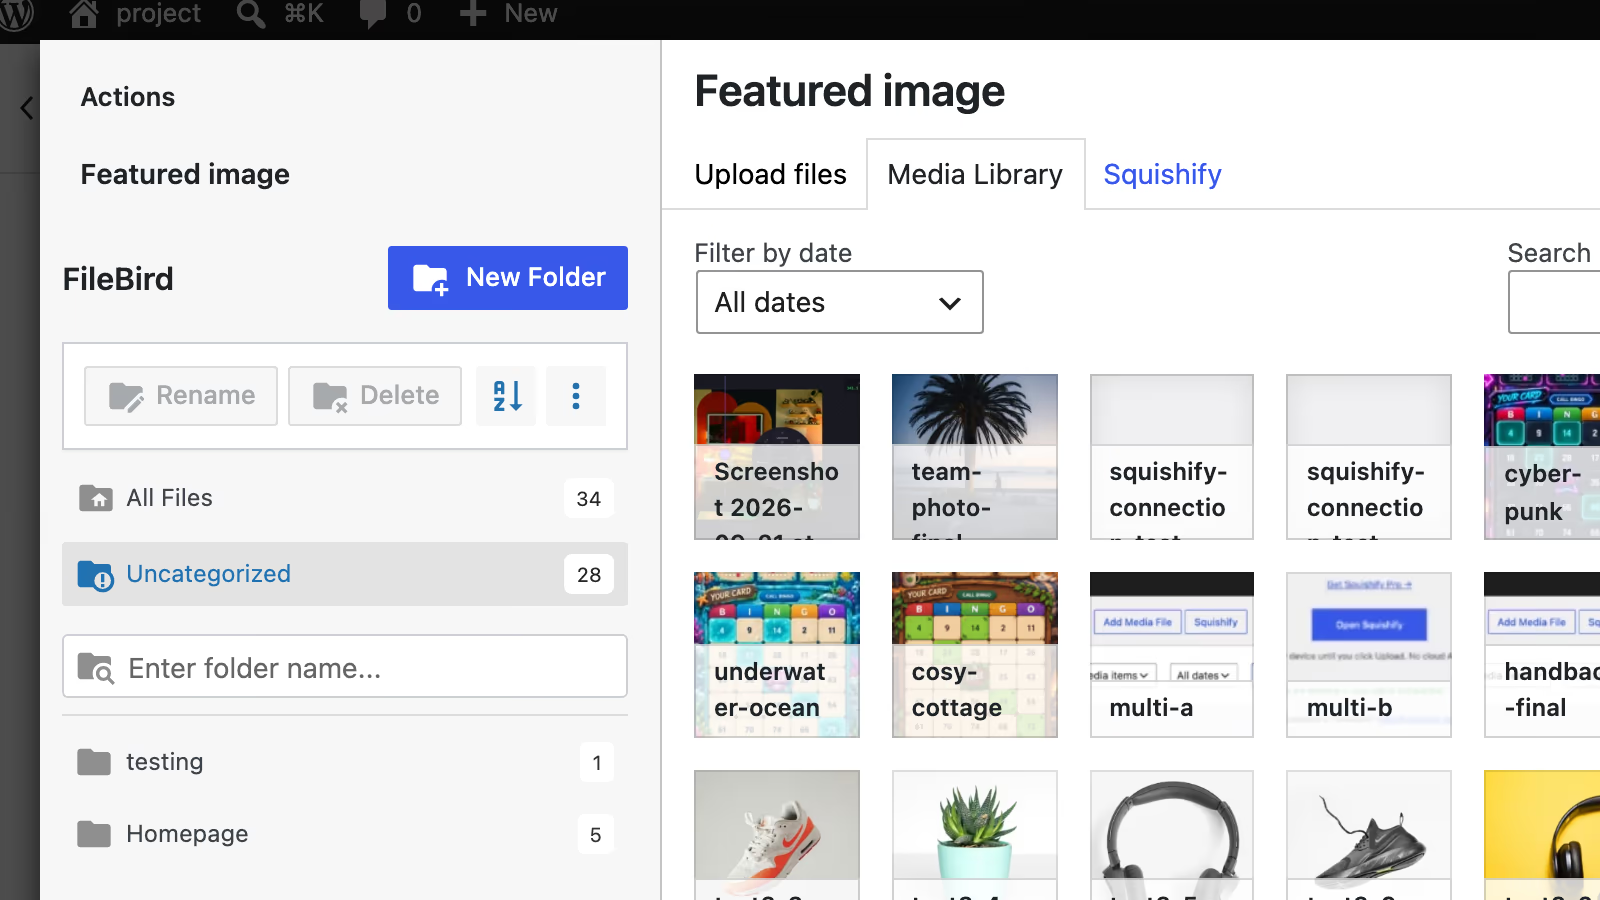
Anywhere WordPress asks you to select or upload media — a featured image, Add Media, the block editor’s Media Library button — there’s a Squishify tab beside Upload files and Media Library. The finished image lands selected and ready.
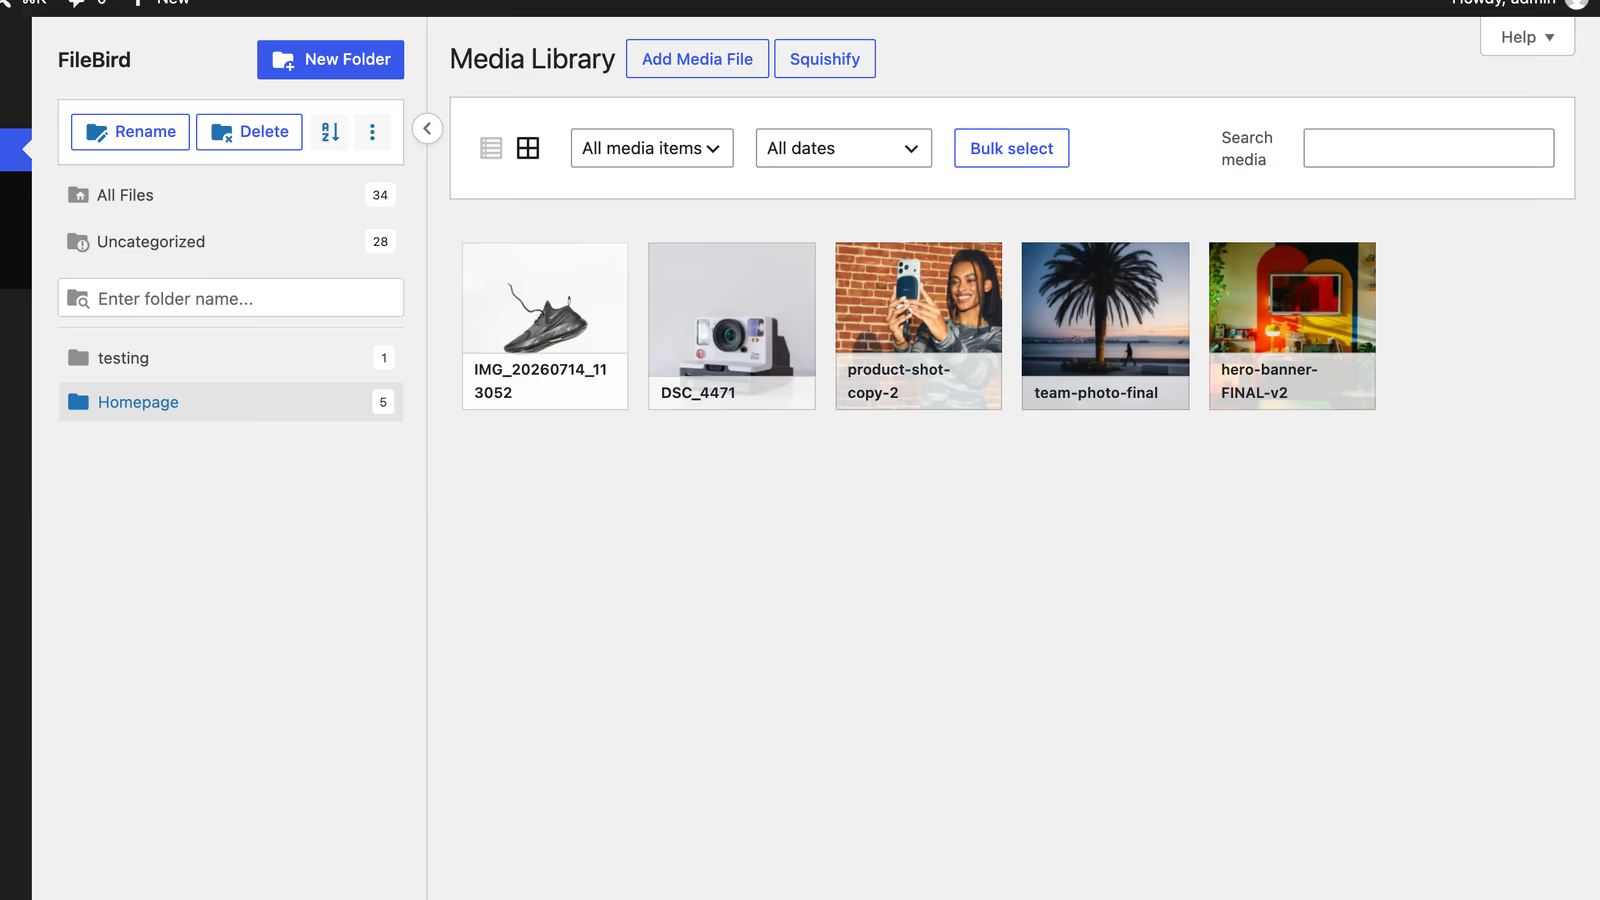
Have a media folder selected? Images Squishify uploads are filed into it. Nothing to configure, and nothing happens when FileBird isn’t active.
Nothing matches that. Try a different word — or ask us if it’s something Squishify should do.
None of these are required. All of them save a click or ten.
Choose a size, crop ratio or rename sequence in Grid before dropping the rest — every image you add afterwards inherits it.
C crop, S size, R rename, G for Grid. Hover any tool to see its key, or press ? for the whole list.
Ctrl/⌘-scroll or pinch zooms the before/after around the cursor; plain scroll pans. Every image starts back at fit.
← → slide the compare divider in 4% steps; hold Shift for 20%.
Enter commits the image you’re on and opens the next. ⌘Enter applies your settings to the whole queue.
⌘V anywhere drops what’s on your clipboard into the queue — no save-to-disk first.
Quality sets how the image looks; effort sets how hard the encoder works for a smaller file at that quality. Hover the ? beside Effort — for AVIF, higher isn’t always smaller.
Drag the folder itself onto the drop area and everything inside it queues at once, up to the batch limit.
On Pro, right-click opens the radial menu. Shift + right-click gives you the browser’s menu instead, and text fields always keep it.
On Pro, the watermark logo you picked is waiting next visit — with its corner, size and shadow — so a brand mark is one click on every batch.

No account, nothing uploaded. Pro unlocks when you’re ready — or start a 7-day trial from inside the app.